WSPR with a vector network analyzer

I’ve been playing a lot with my N2PK VNA lately. Not only learning how to measure things (using the wonderful VNA tutorials of PA4TIM), but also how it works internally, and how I can control it from an Arduino. I can already set the frequency and phase of the two frequency generators, and I can read out the ADC.

Meanwhile, at the Radio Club Leuven, there has been a huge interest in WSPR lately, a low-power beacon-like digital mode, ever since Wim ON3ZOE demonstrated running WSPR with a Raspberry Pi. By hooking up an I/O pin to an antenna, with only a filter in between to remove the harmonics, he has gotten all the way to Greenland, 3500km away from Belgium. Hmm…

Arduino controlling the VNA

Arduino controlling the VNA

Continue reading

Making a crystal filter

A few weeks ago, I was given some hand-matched crystals at the radio club. My mission: to make a crystal filter for a Belthorn IF-module I’m going to build. Once again, something I’ve never done before. Let’s dive in with both feet.

To make a filter, there exist many software packages. I used Dishal from dj6ev, a windows program that luckily runs just fine under wine on Linux.

dishal
Continue reading

N2PK Vector Network Analyzer

N2PK VNA under construction
This is a very interesting build. If I were to make it again, I would go for a dual detector and the fast ADC, but even with its slow measuring rate (7 measurements per second), it’s still a very interesting piece of equipment to have. It can be used to measure complex impedances of all kinds of circuits. Using a bridge (I still have to build mine), you can also check antennas, something I’m looking forward to measure. You can find N2PK’s project page for this instrument here.
Continue reading

SMD soldering an SDR transceiver kit

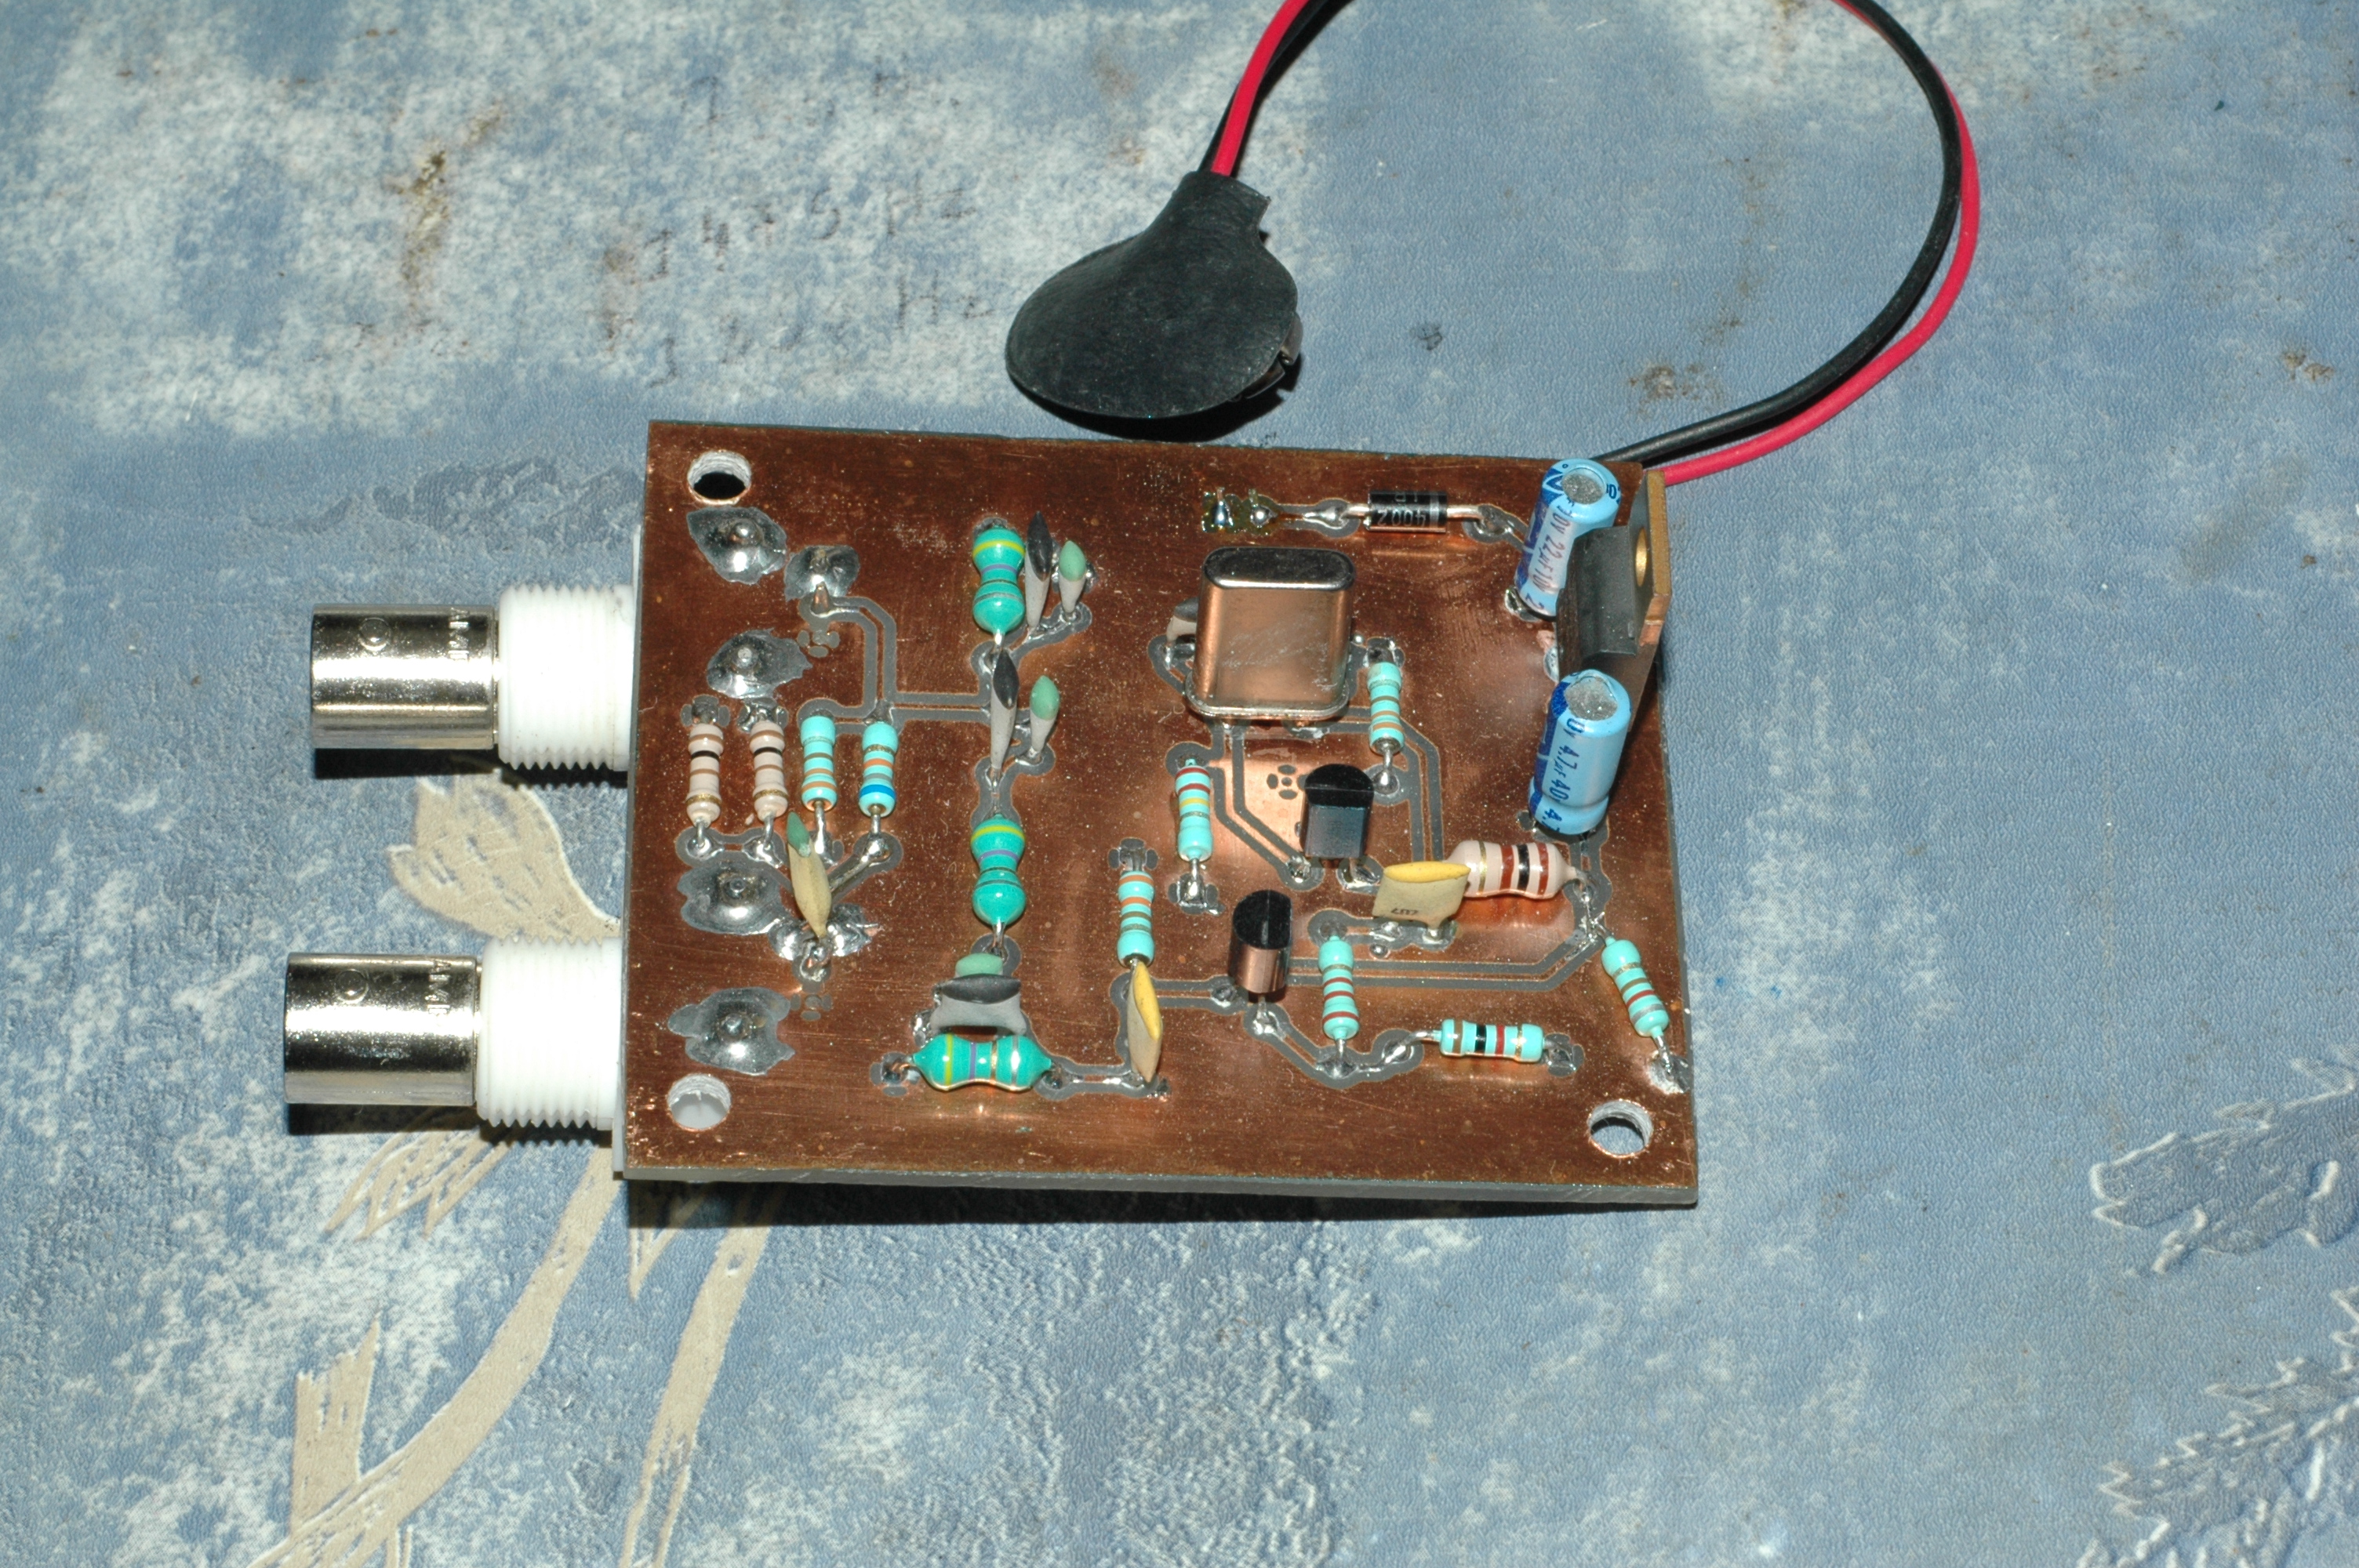
After playing with RTL-SDR dongles and GnuRadio, I wanted to be able to listen on HF. The USB dongles are not suited for this, unless you buy an upconvertor. I looked around a bit I discovered the . As I was keen to learn how to solder SMD’s, this seemed like a great challenge. The kit was ordered and the soldering iron turned on.

There are two three pieces of advice I can give to anyone getting started with SMD soldering. Firstly, spend a good amount of time watching youtube video tutorials. If you hear things that keep getting repeated, then that’s probably important. I particularly recommend the soldering videos from EEVBlog, CuriousInventor, and W2AEW.

Secondly, use flux. If you followed the first advice, then that’s probably already one of the things you have seen everybody do. And for good reason: once you have used it, it will instantly convert you. It is a weak acid, that will do its work when heated. It will eat away the small layer of corrosion that forms around most metals, and allow for a good bond between the soldering tin and the PCB and component. Also, it will make the tin more fluid. It’s hard to describe, but if you use it you’ll clearly see how the flux influences the behavior of the tin. Without flux, drag soldering is almost impossible. With flux, it’s a breeze. I bought a syringe with flux gel, and I even use it for through-hole components when using old components.

And finally, get a good roll of solder wick. It’s like a towel for cleaning up excess solder. It’s simply a braided wire soaked with flux. When you hold it against some solder and melt it, the capillary force of the braided wire will suck all the solder up and leave your surface nice and clean. It’s also great for removing soldering shorts between pins of integrated circuits.

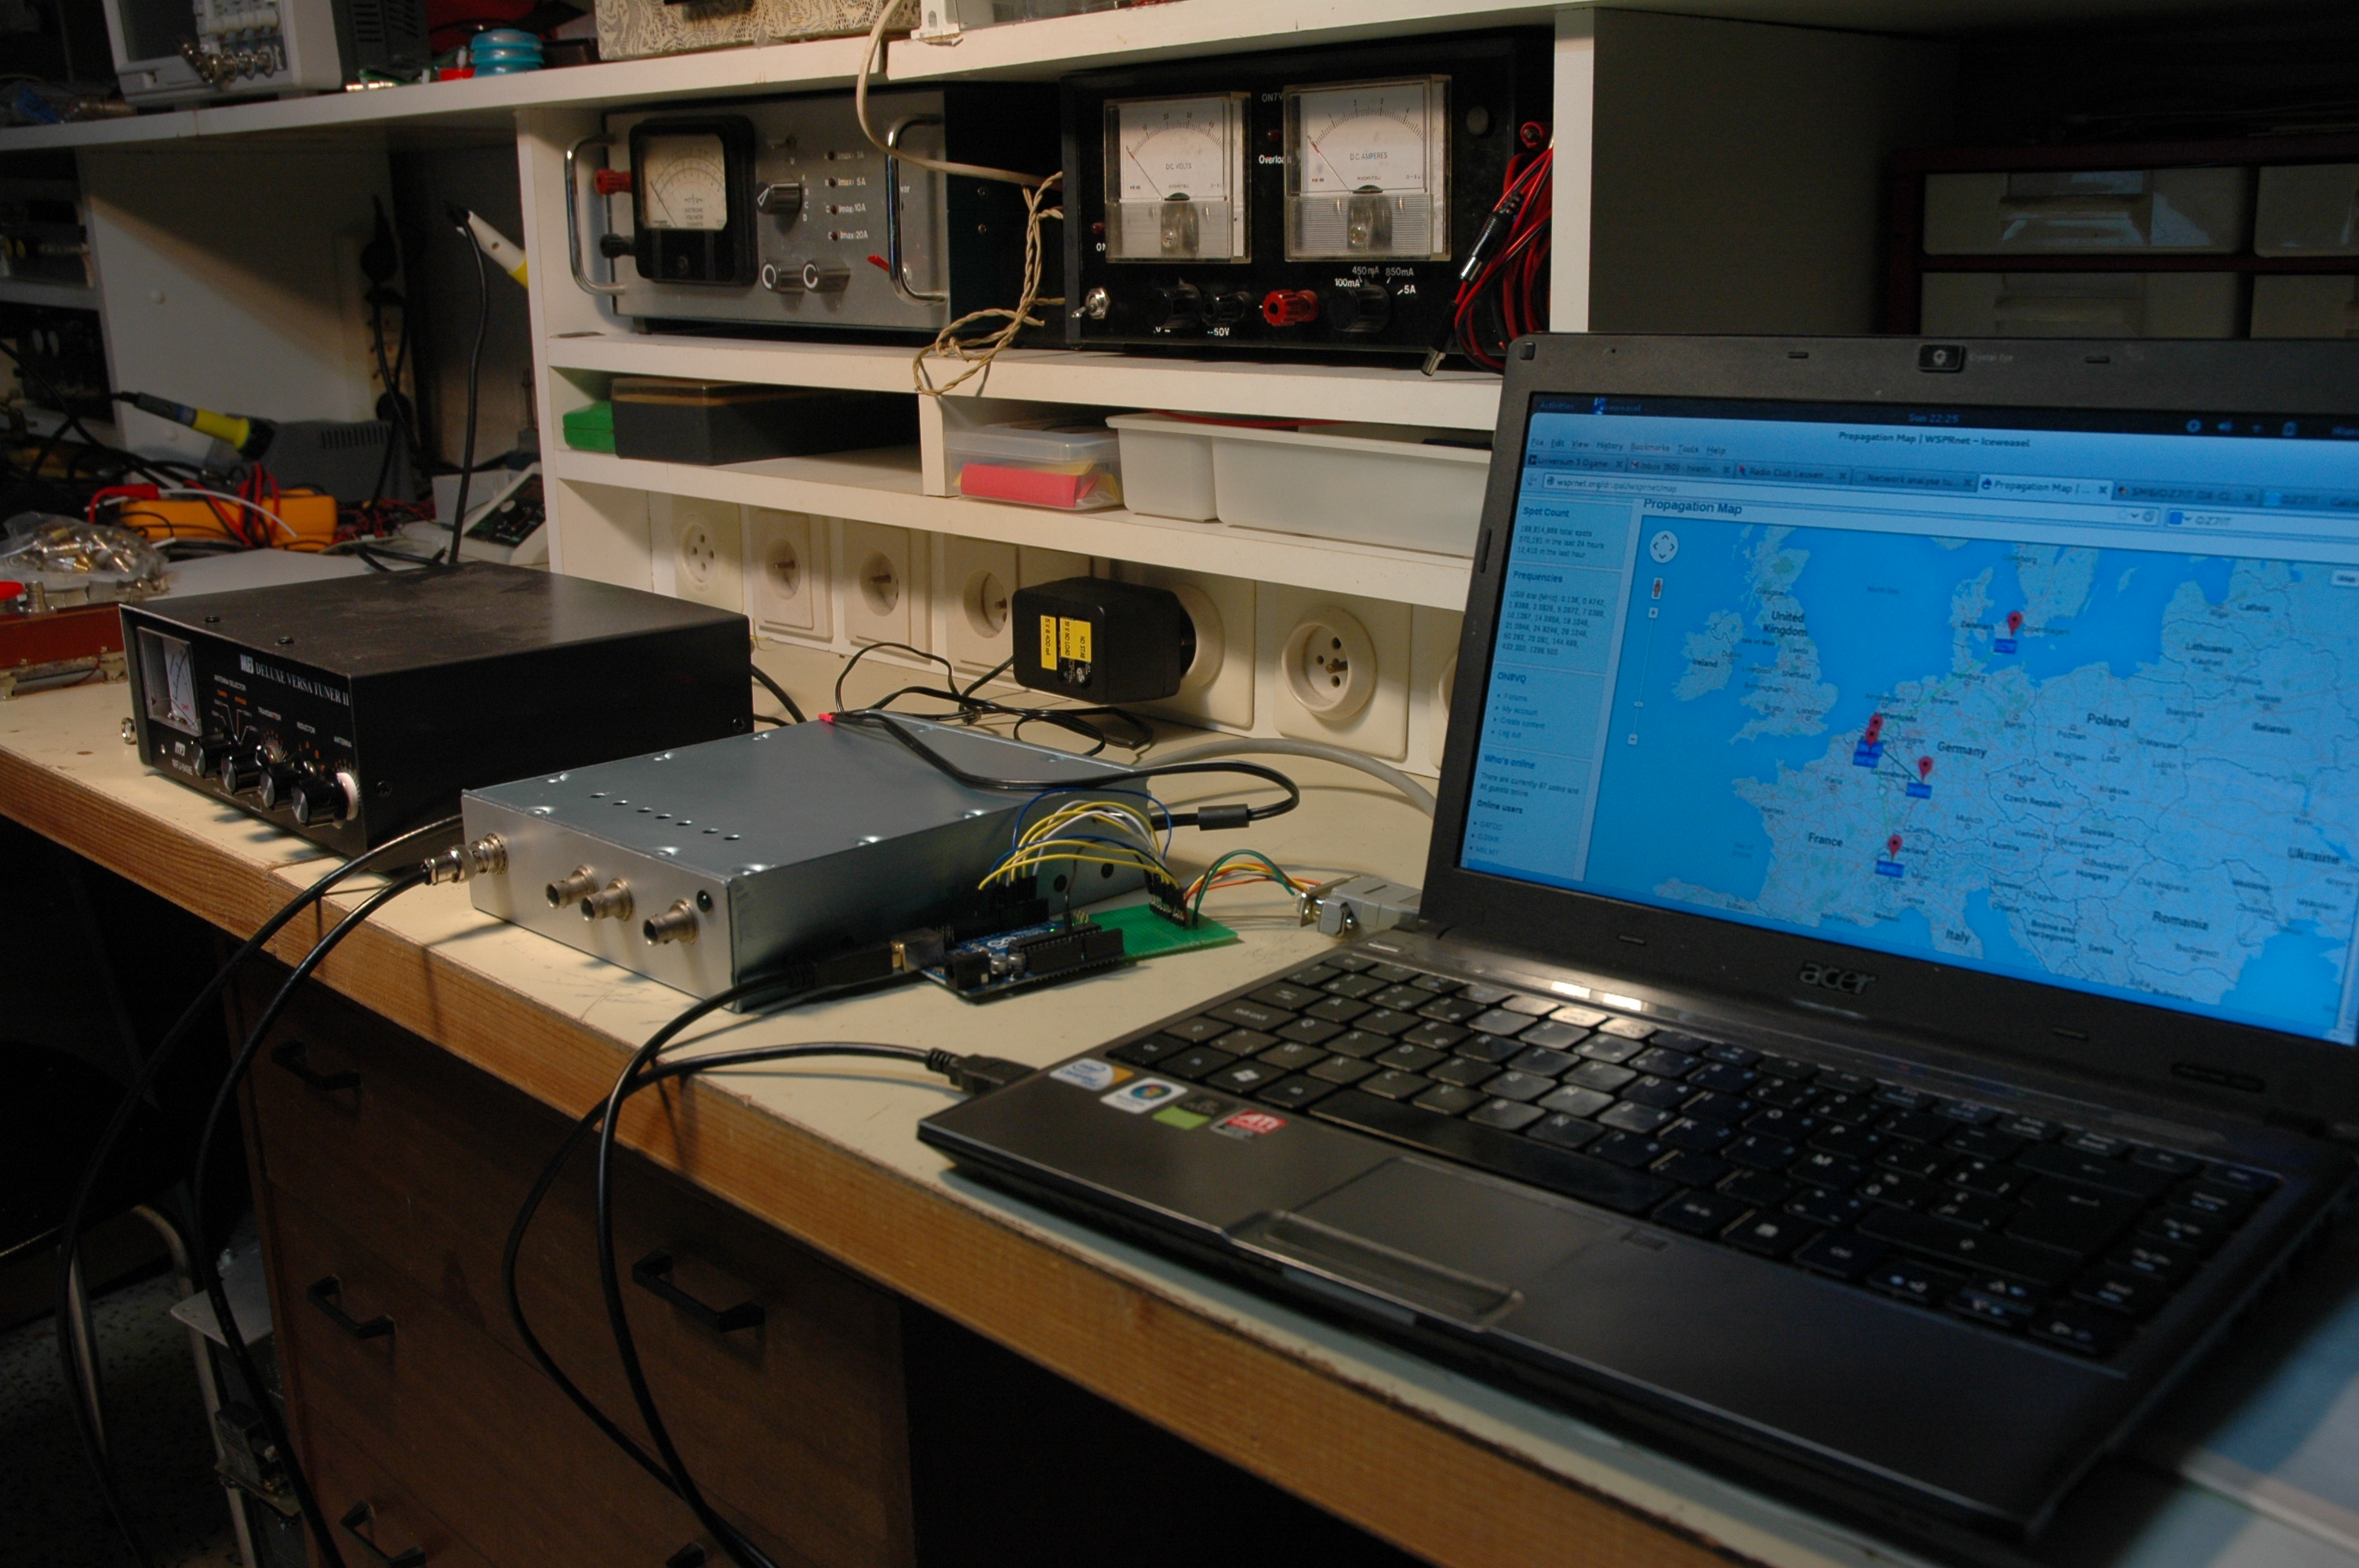
When the SDR kit arrived, it took me a weekend to put it together. It worked first time, and I use the radio for SSTV, WSPR and just general listening. As this also has transmit capabilities, getting a HAM license became a priority. Transmitting to a dummy load quickly becomes boring. To test how far I stood, I converted the publicly available exam questions database of the BIPT to SQL and made an online HAREC test page. A few months later I passed my exam and got the call ON8VQ.

Low latency video with a Raspberry Pi

Now that I have a camera board, I’ve been trying to get a real-time video stream out of the Raspberry Pi. First I tried using RTSP, but the problem is that a video player will start buffering an incoming stream, giving you a 10 second delay. I don’t know whether this can be avoided. Then again, I haven’t looked very hard.
I got rather decent results by just bypassing all the overhead, and sending the H.264 stream of the camera directly to a TCP tunnel. On the desktop side, you can then read the data and pipe it to mplayer. For the network transport, netcat comes to the rescue:

First, start listening on the desktop:
nc -u -l -p 6502 | mplayer -fps 15.1 -demuxer h264es -

Then, open the floodgates on your raspberry pi:
raspivid -t 0 -hf -w 320 -h 240 -fps 15 -b 500000 -o - | nc -u 192.168.1.7 6502

There are a lot of parameters you can play with, trying out tcp instead of udp, changing bitrate, size etc. Notice that I set the playback rate a bit higher, this keeps mplayer constantly hungry. If the camera sends even slightly faster than mplayer shows, the frames would start to pile up, and you would get an ever increasing lag (and memory usage).